I felt that the fingers on the original sculp were too short, so I extended them. I decided to cast the hands in dragon skin as it's far more flexible than latex and unlike most silicone; you can mix it with acrylic paint to get the colour you want.
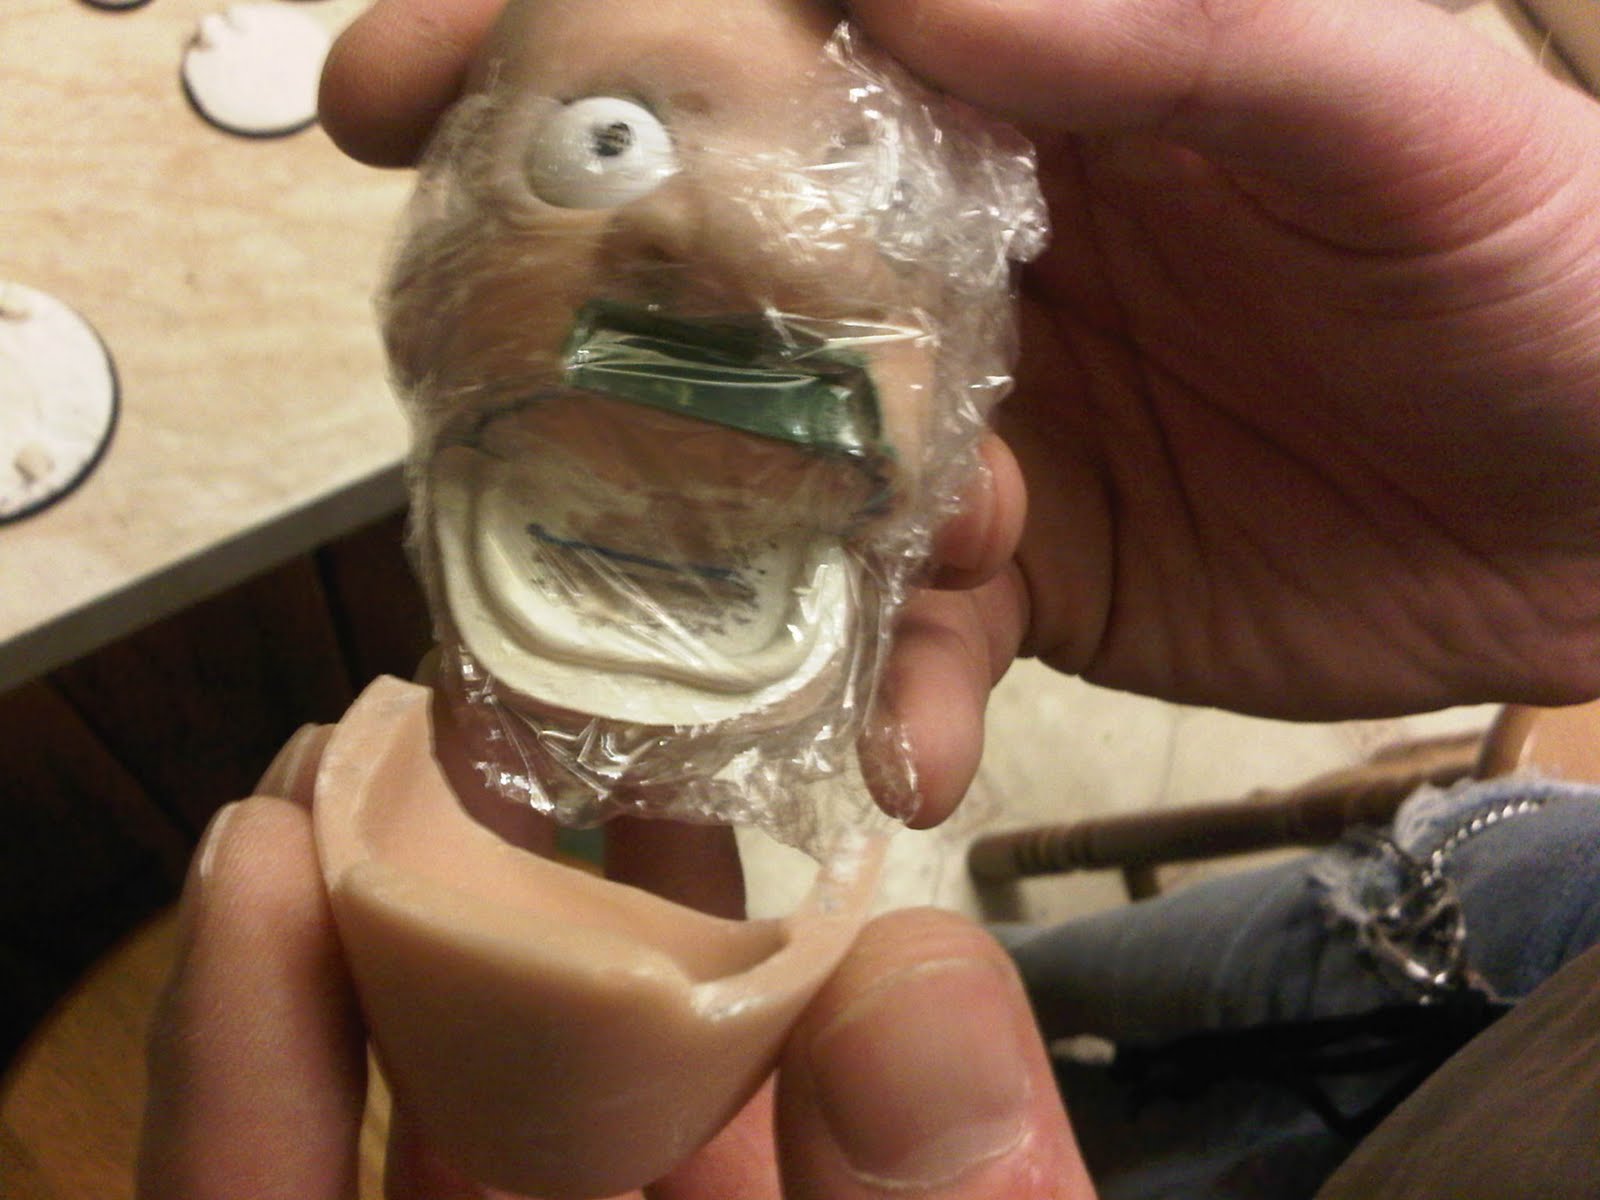
Once happy with the sculp I lay down the hand and clayed up to roughly halfway up the hand. After smoothing out the clay and adding registration points I put walls around it and filled with plaster. When the plaster had set I removed the walls, flipped it over and removed the clay. I then put walls around it, clayed the internal and extenral edges of the walls, sprayed all of the exposed plaster with wax based release agent and poured in the plaster. When set I removed the original splasticine sculpt, leaving a two part mould in the plaster. I repeated the proccess for the other hand.
When I had both moulds I made armatures using twisted bansai wire, cut lengths of K&S braqss tubing (to slot into the forarms of the main body armature). before gluing the wire wrists into the K&S Icut strips of heat shrink rubber tube on them, to strengthen the twisted wire and lesssen the friction between the wire and the K&S.
Once the armatures were ready I mixed the dragon skin with acrylic paint and poured in a thin layer to skin of the mould and make sure there would be no airbubbles of the outer surface of the hands. When skin layer set, I lay the armatures inside the deeper halves fo the mould, poured more flesh tone drogon skin in, closed and claped the moulds shut.
I took them out and trimmed back the seems to make the hands complete. I made more hand armatures and cast several more pairs of hands, so that I would have spare ones, once the wire in the fingers or wrist snapped.
I took them out and trimmed back the seems to make the hands complete. I made more hand armatures and cast several more pairs of hands, so that I would have spare ones, once the wire in the fingers or wrist snapped.