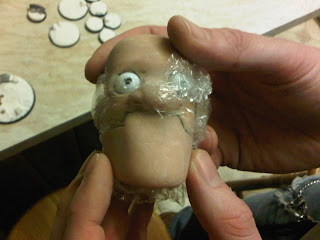
Firstly I wanted to make a mould of the original head so I could make copies incase anything went wrong. I decided to make the mould from silicone so I could cast it in fast cast resin so it would be hard and solid. And the general rule is to make a soft/flexible mould for hard casts and to make a hard mould for soft casts. This is so you can remove the cast from the mould without damaging either.
I extended the bottom of the head to allow me to make a reccess for the neck and also to create a larger contact area for the replacement mouths. After cutting down some bolser wood to bulk out the replacement mouth section (to save on weight) I sculpted the mouth template over the top with sculpy, banked it and built up a shallow registration wall around the inside edge of the mouth (using superfine milliput).
Putting the mouth template asside, I clayed up the back half of the head, added a sinker as a pour hole and registration points and then after putting walls around it, I clayed up the inner and outter edges of the wall (to stop the silicone seeping out).
I then mixed and poured in some mould making silicone. After the silicone went off, I removed the walls, allong with all the clay, turned upside down, added walls, clayed up the internal and external edges, and after sparying a wax based release agent over all of the exposed silicone, I poured in more silicone (making sure the top of highest point of the sculp was substancially covered) to give me the second half of the mould.
Once the mould was complete, I removed the original sculp and any remaingin clay, and then poured in some fast cast to make a cast of the head. However the fast cast I was using was very old so it came out a bit greasy with an unusually high amount of air bubble and was also too heavy. So to remedy this I bought some new fast cast and cast the next head with a hollow shell inside (in this case I used a casing from a kinder surprise as it happened to fit well!). After it was set I snapped off the sinker and sanded down the seams.


No comments:
Post a Comment